Let’s Talk Natural Dyes
Given the nature of my art, learning natural dye processes only made sense.
Now, it has been two years of food scrap mad science, and here is what I know. Trust me, I’ve made most of the mistakes one could possibly make.
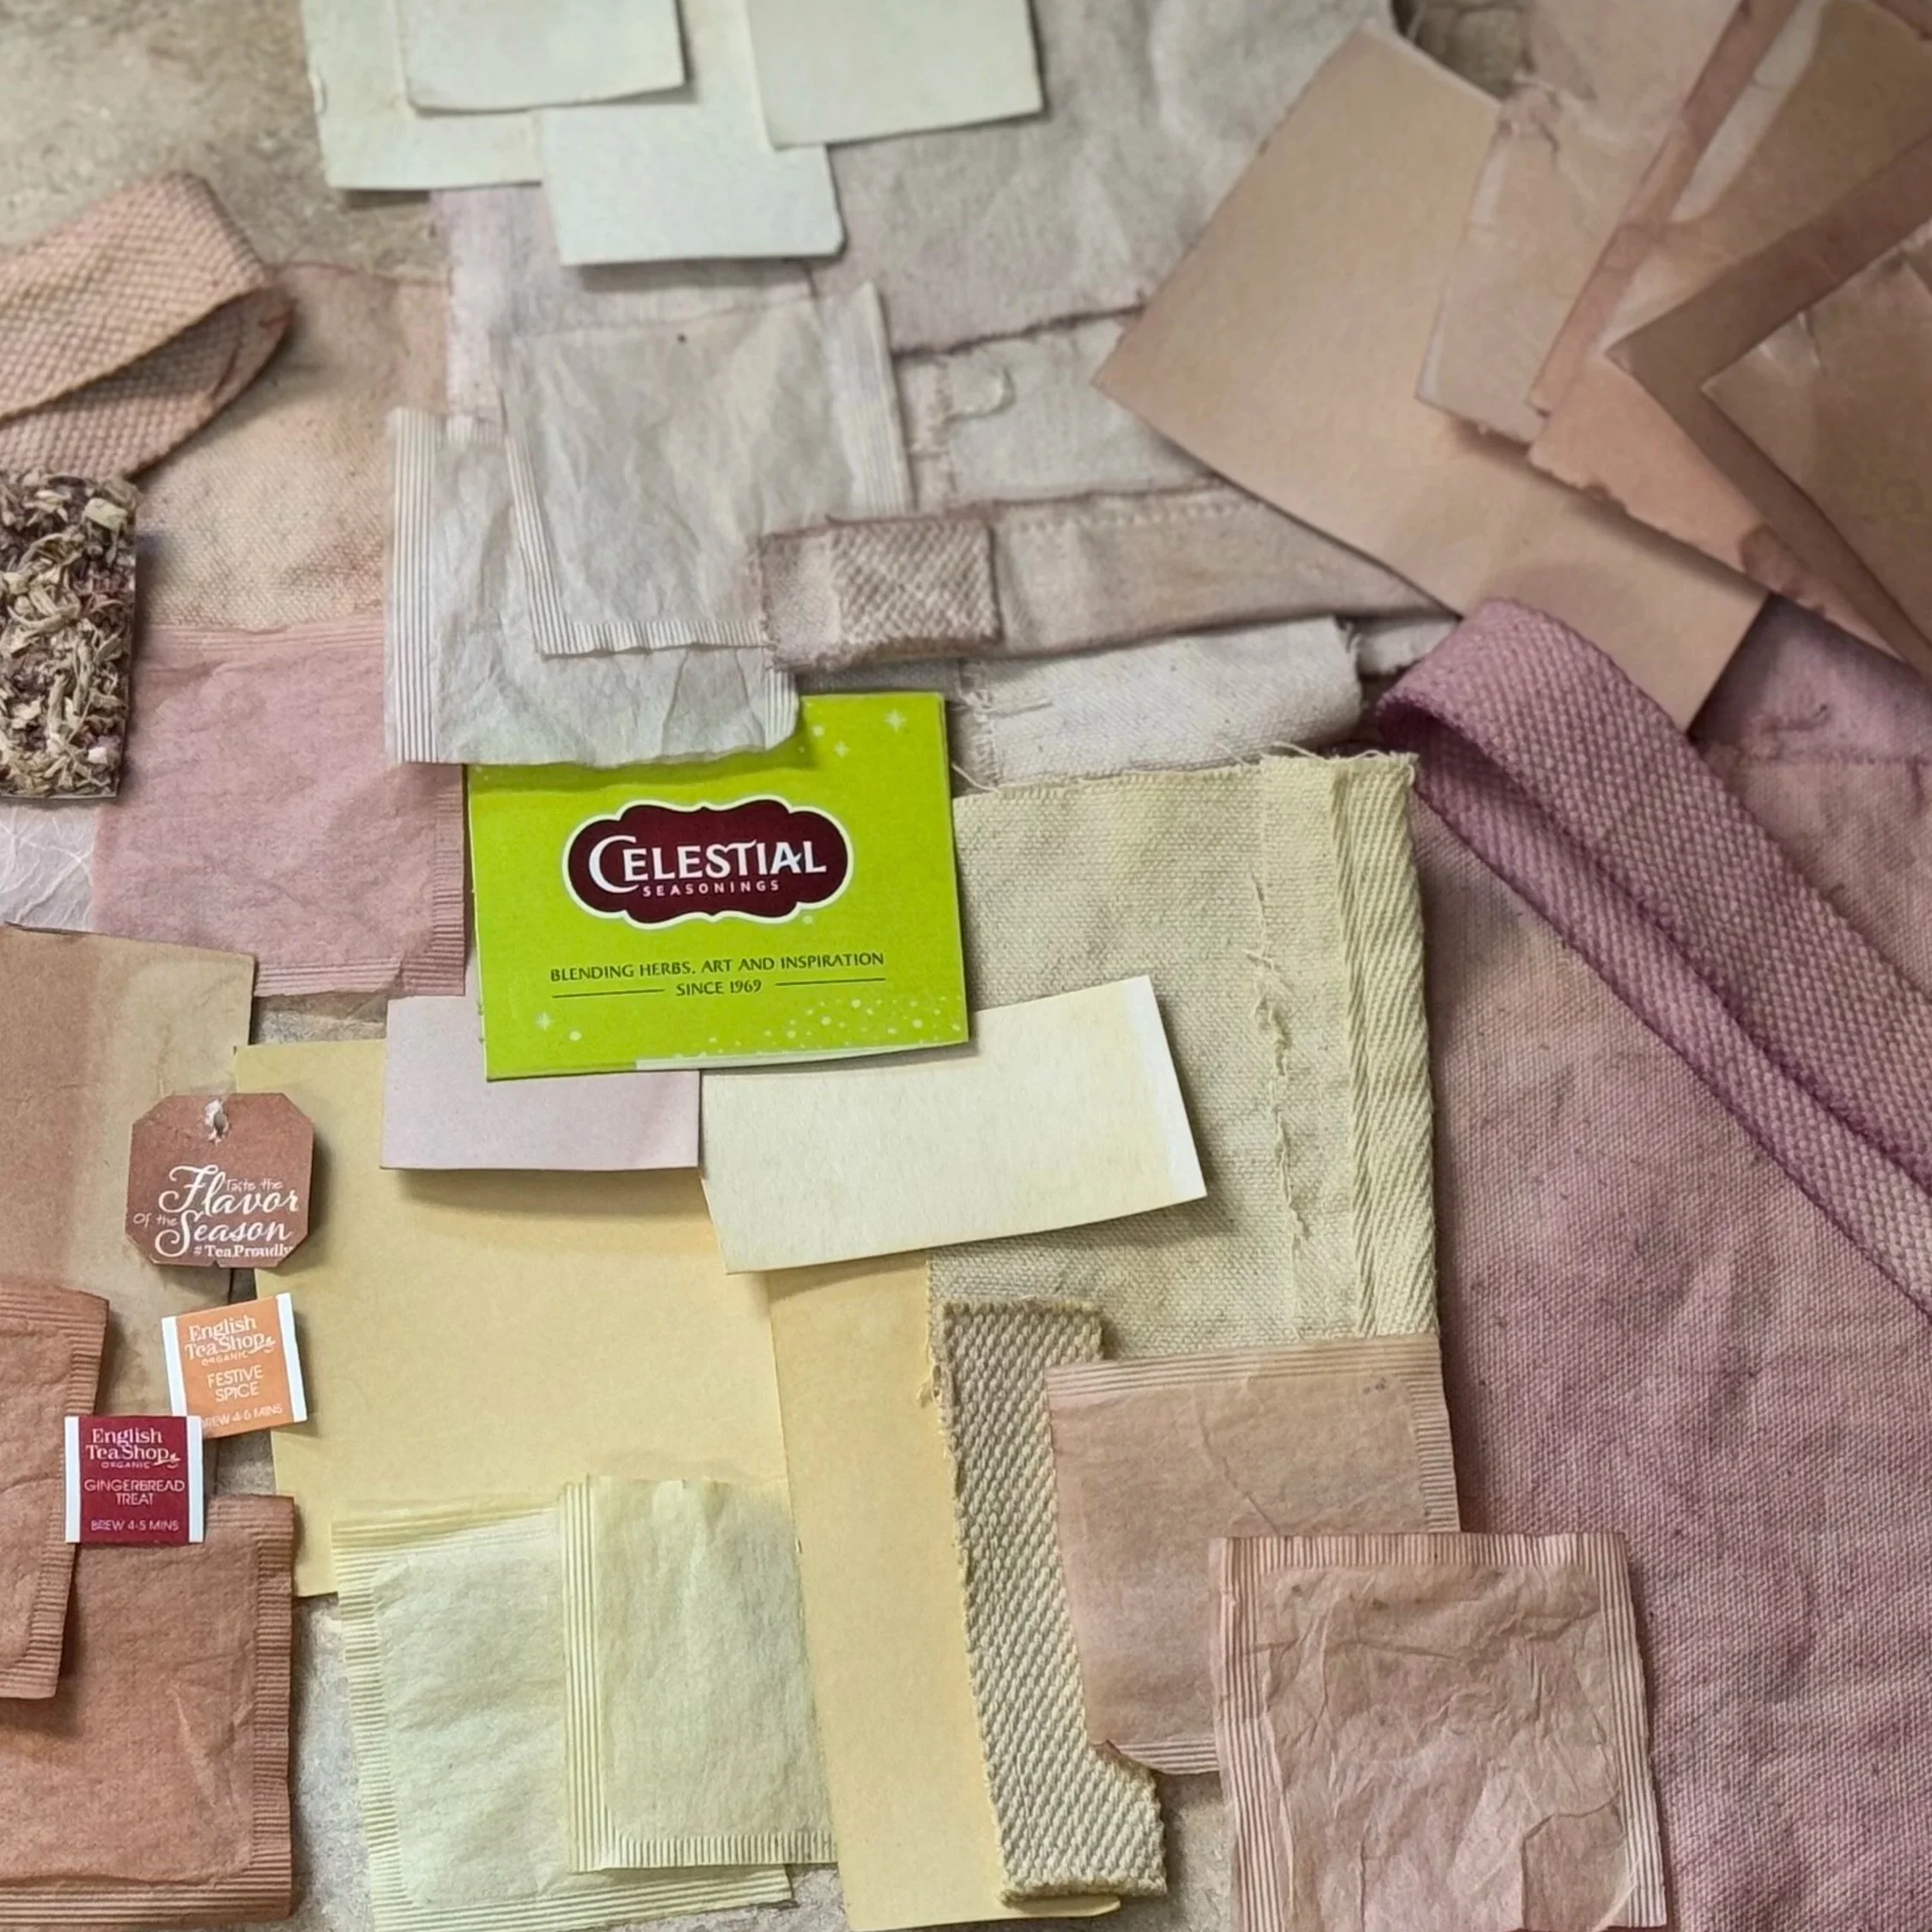
My first summer of tests! A lot of…beige, I know.
Before I get into any of the dye nonsense, you’ve gotta have a proper base. Here is what I know about materials!
Rule of thumb: natural works better than synthetic. Cotton, muslin, linen, and absorbent paper are fantastic ways to start. Personally, I like cotton most, but I stain plenty of various types of paper. Materials such as polyester aren’t even worth the fight. I know, I know— but I promise, just get yourself something decent to start with. An old canvas tote, a fabric scrap, an old cotton tee, even printer paper will do.
The next step? mordanting. Which I skip half the time (I promise this begins to make sense, just bear with me here). Mordanting is, in my book, optional, but ONLY because of the particular materials I use. I will get to that. You, my friend, need to use a mordant. Do as I say, not as I do.
Mordant works as a bridge between the material you dye and the dye itself. The easiest way to do it is to soak your material in an aluminum sulfate (Alum) and water bath for a good hour. If you want a generic ratio, 1 tablespoon of alum per 4 cups of hot water. If you’re working larger, ¼ cup of alum per 1 gallon of water. Dissolve the alum first, then add your material. Easy peasy so far!
Now, why don’t I use mordant very often? Tannins!
That archival beige. Fabulous.
Tannins are naturally occurring compounds found in a multitude of plants. In terms of dyeing, they’re like a built-in mordant. This is why dyes made from tea, wood, leaves, and certain dried flowers work so easily.
It’s also why you may end up with a lot of beige. Like, a LOT of beige. Tannins tend to produce soft browns, warm neutrals, dusty pinks, and muted yellows. Subtle, reliable, and beginner-friendly…but rarely bright.
I gravitate toward muted tones, so I go for high pigment and tannin-heavy. Black tea is a great place to start if it’s your first go. But you cannot do anything with that information if I don’t ever get to the dye process. Let’s begin!
Top: rose/cedar solar dye, Bottom: black tea heat bath
There are many ways to go about dye processes, but I definitely have my main three. Each of these methods requires the same central ingredients: your chosen material, water, and time— you just apply them in different ways. I’ll work through them with you in order of least effort → most controlled. That way, you can pick what’s best for you personally!
Staining
Solar Dyeing
Heat Dyeing
The simplest method is staining, or soaking cold. Some materials, especially those with tannins, do not require heat at all. This works best ON thin cotton or paper, and WITH wood or tea. All you need to do is soak your material in a concentrated dye bath and let it do the work. In order to get the aforementioned dye bath, I prefer a 1:2 ratio of your chosen dye and water. Let it sit for at least an hour, and you will get a soft, even color. I do a variation of this quite often. I take my used tea bags and press or drag them across paper to get areas of stain!
Tea Stains!
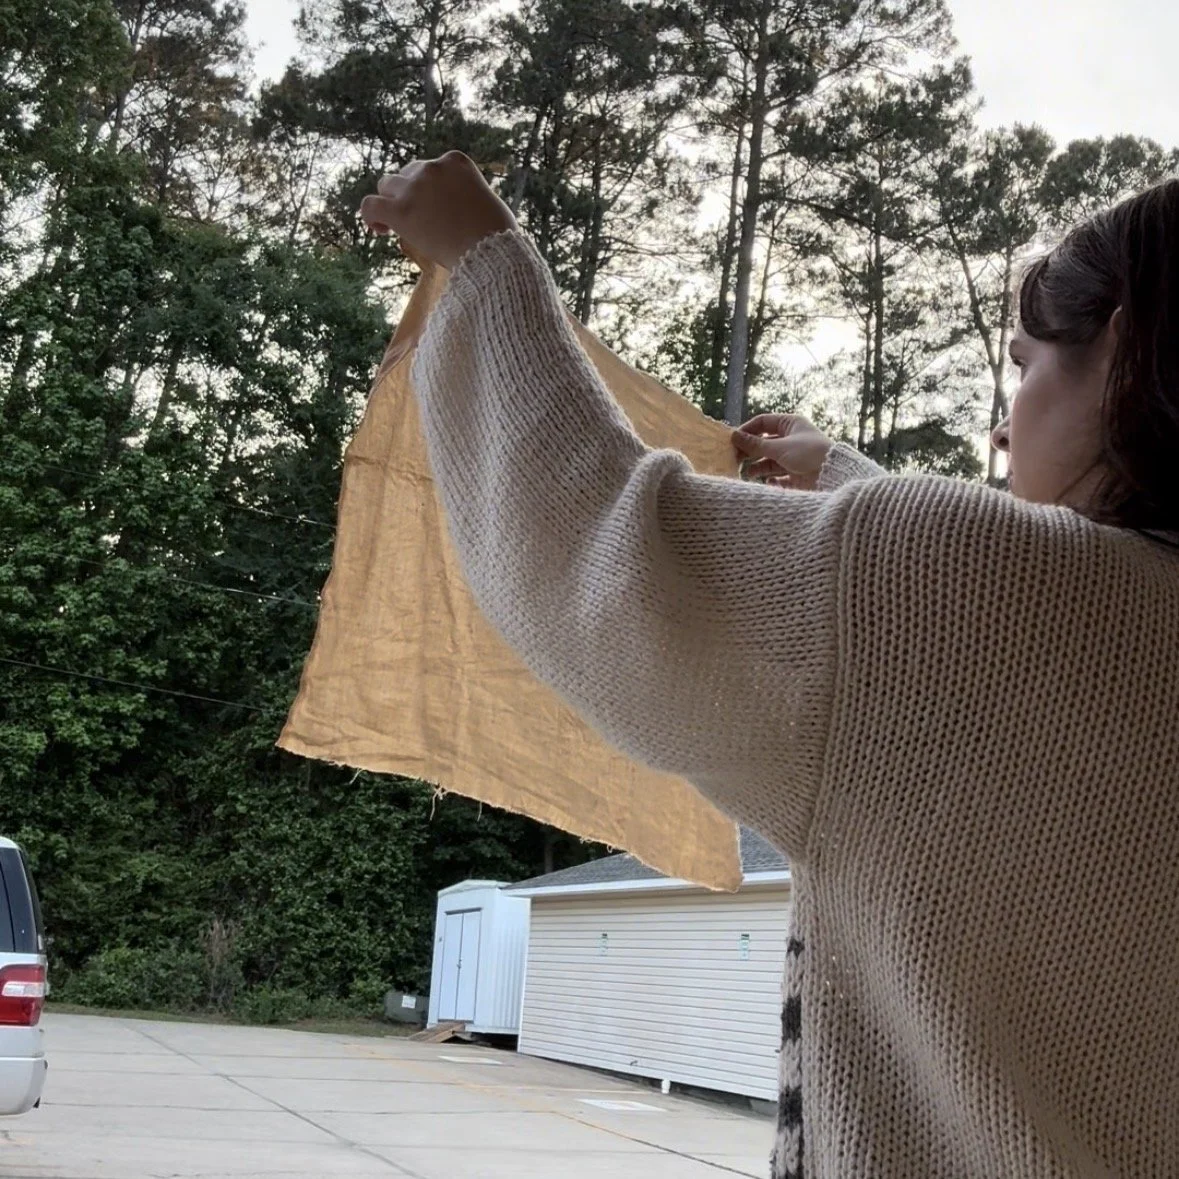
Your happy medium of dye processes is solar dyeing. You take that same dye bath you used in cold soaking, and you let the process happen under the sun. I prefer this method in the summer. I put a mason jar of dye bath and cloth on my porch at lunch, and I have a nice color by evening.
This process takes a bit longer than others, but you can get a nice, deep color. Be careful, if you want even tones, make sure your material is fully submerged and not bent in certain areas. Bending and tying can lead to some fabulous color patterns, but that may not be what you want!
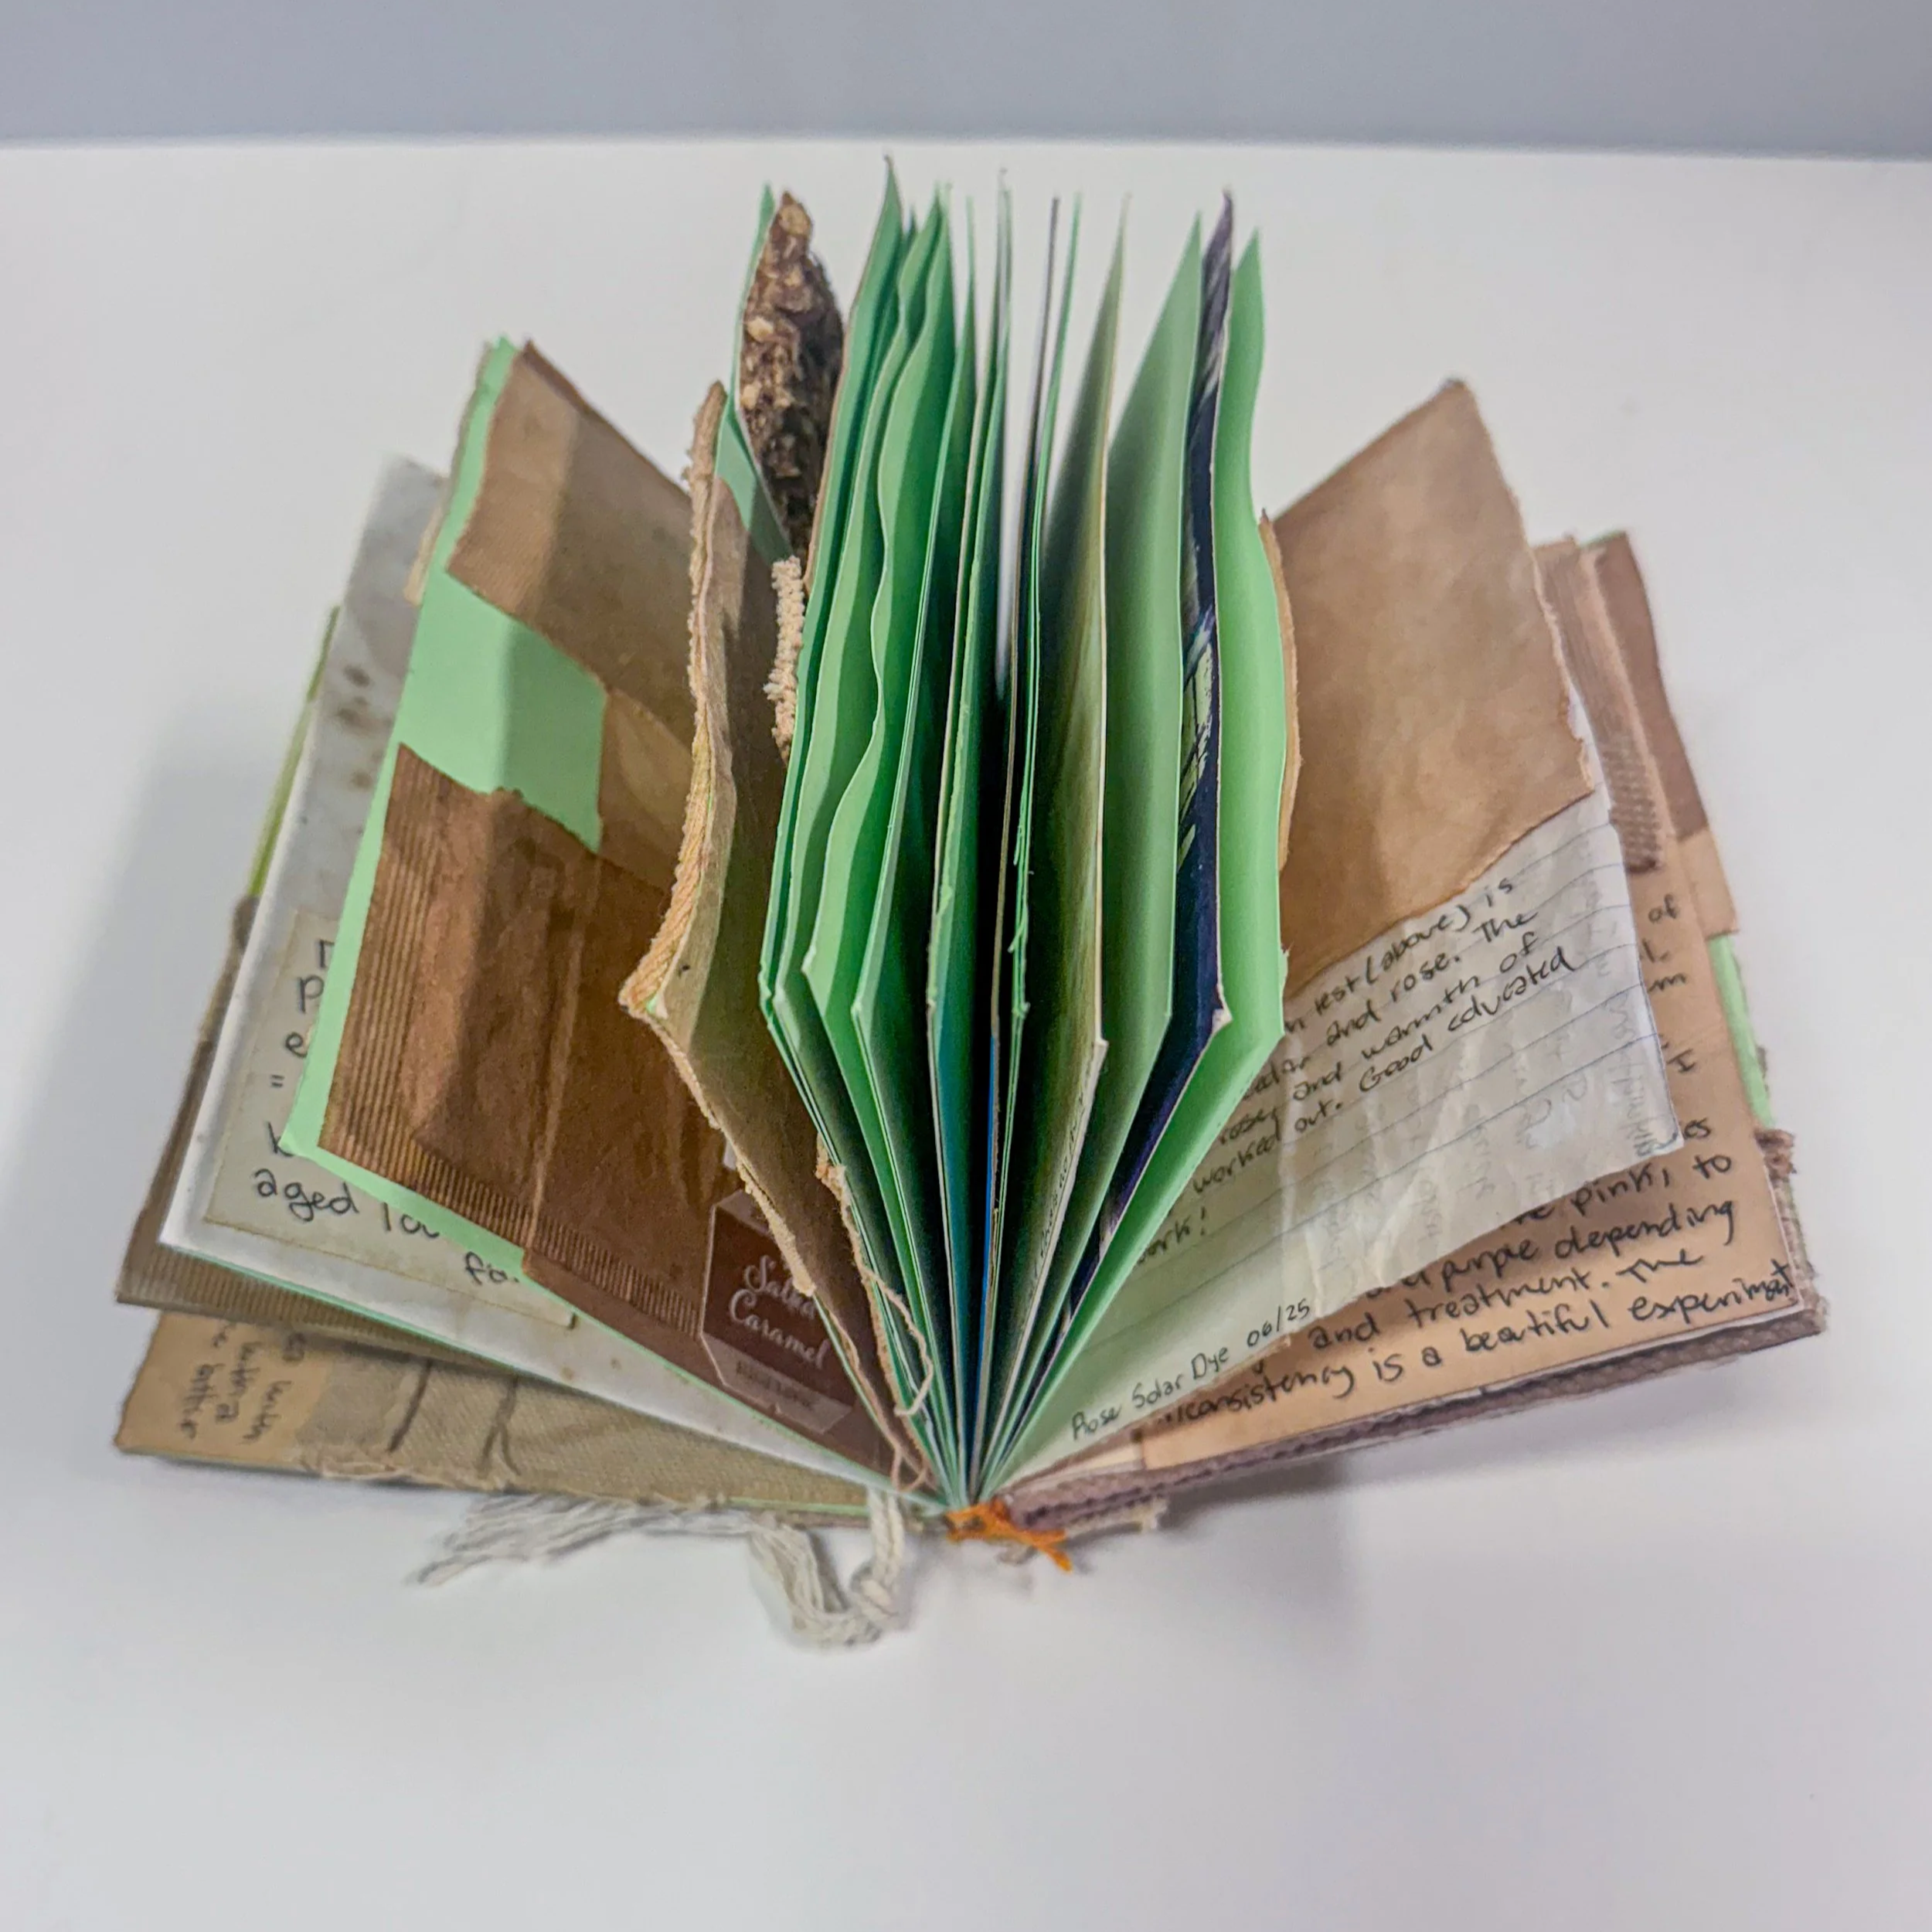
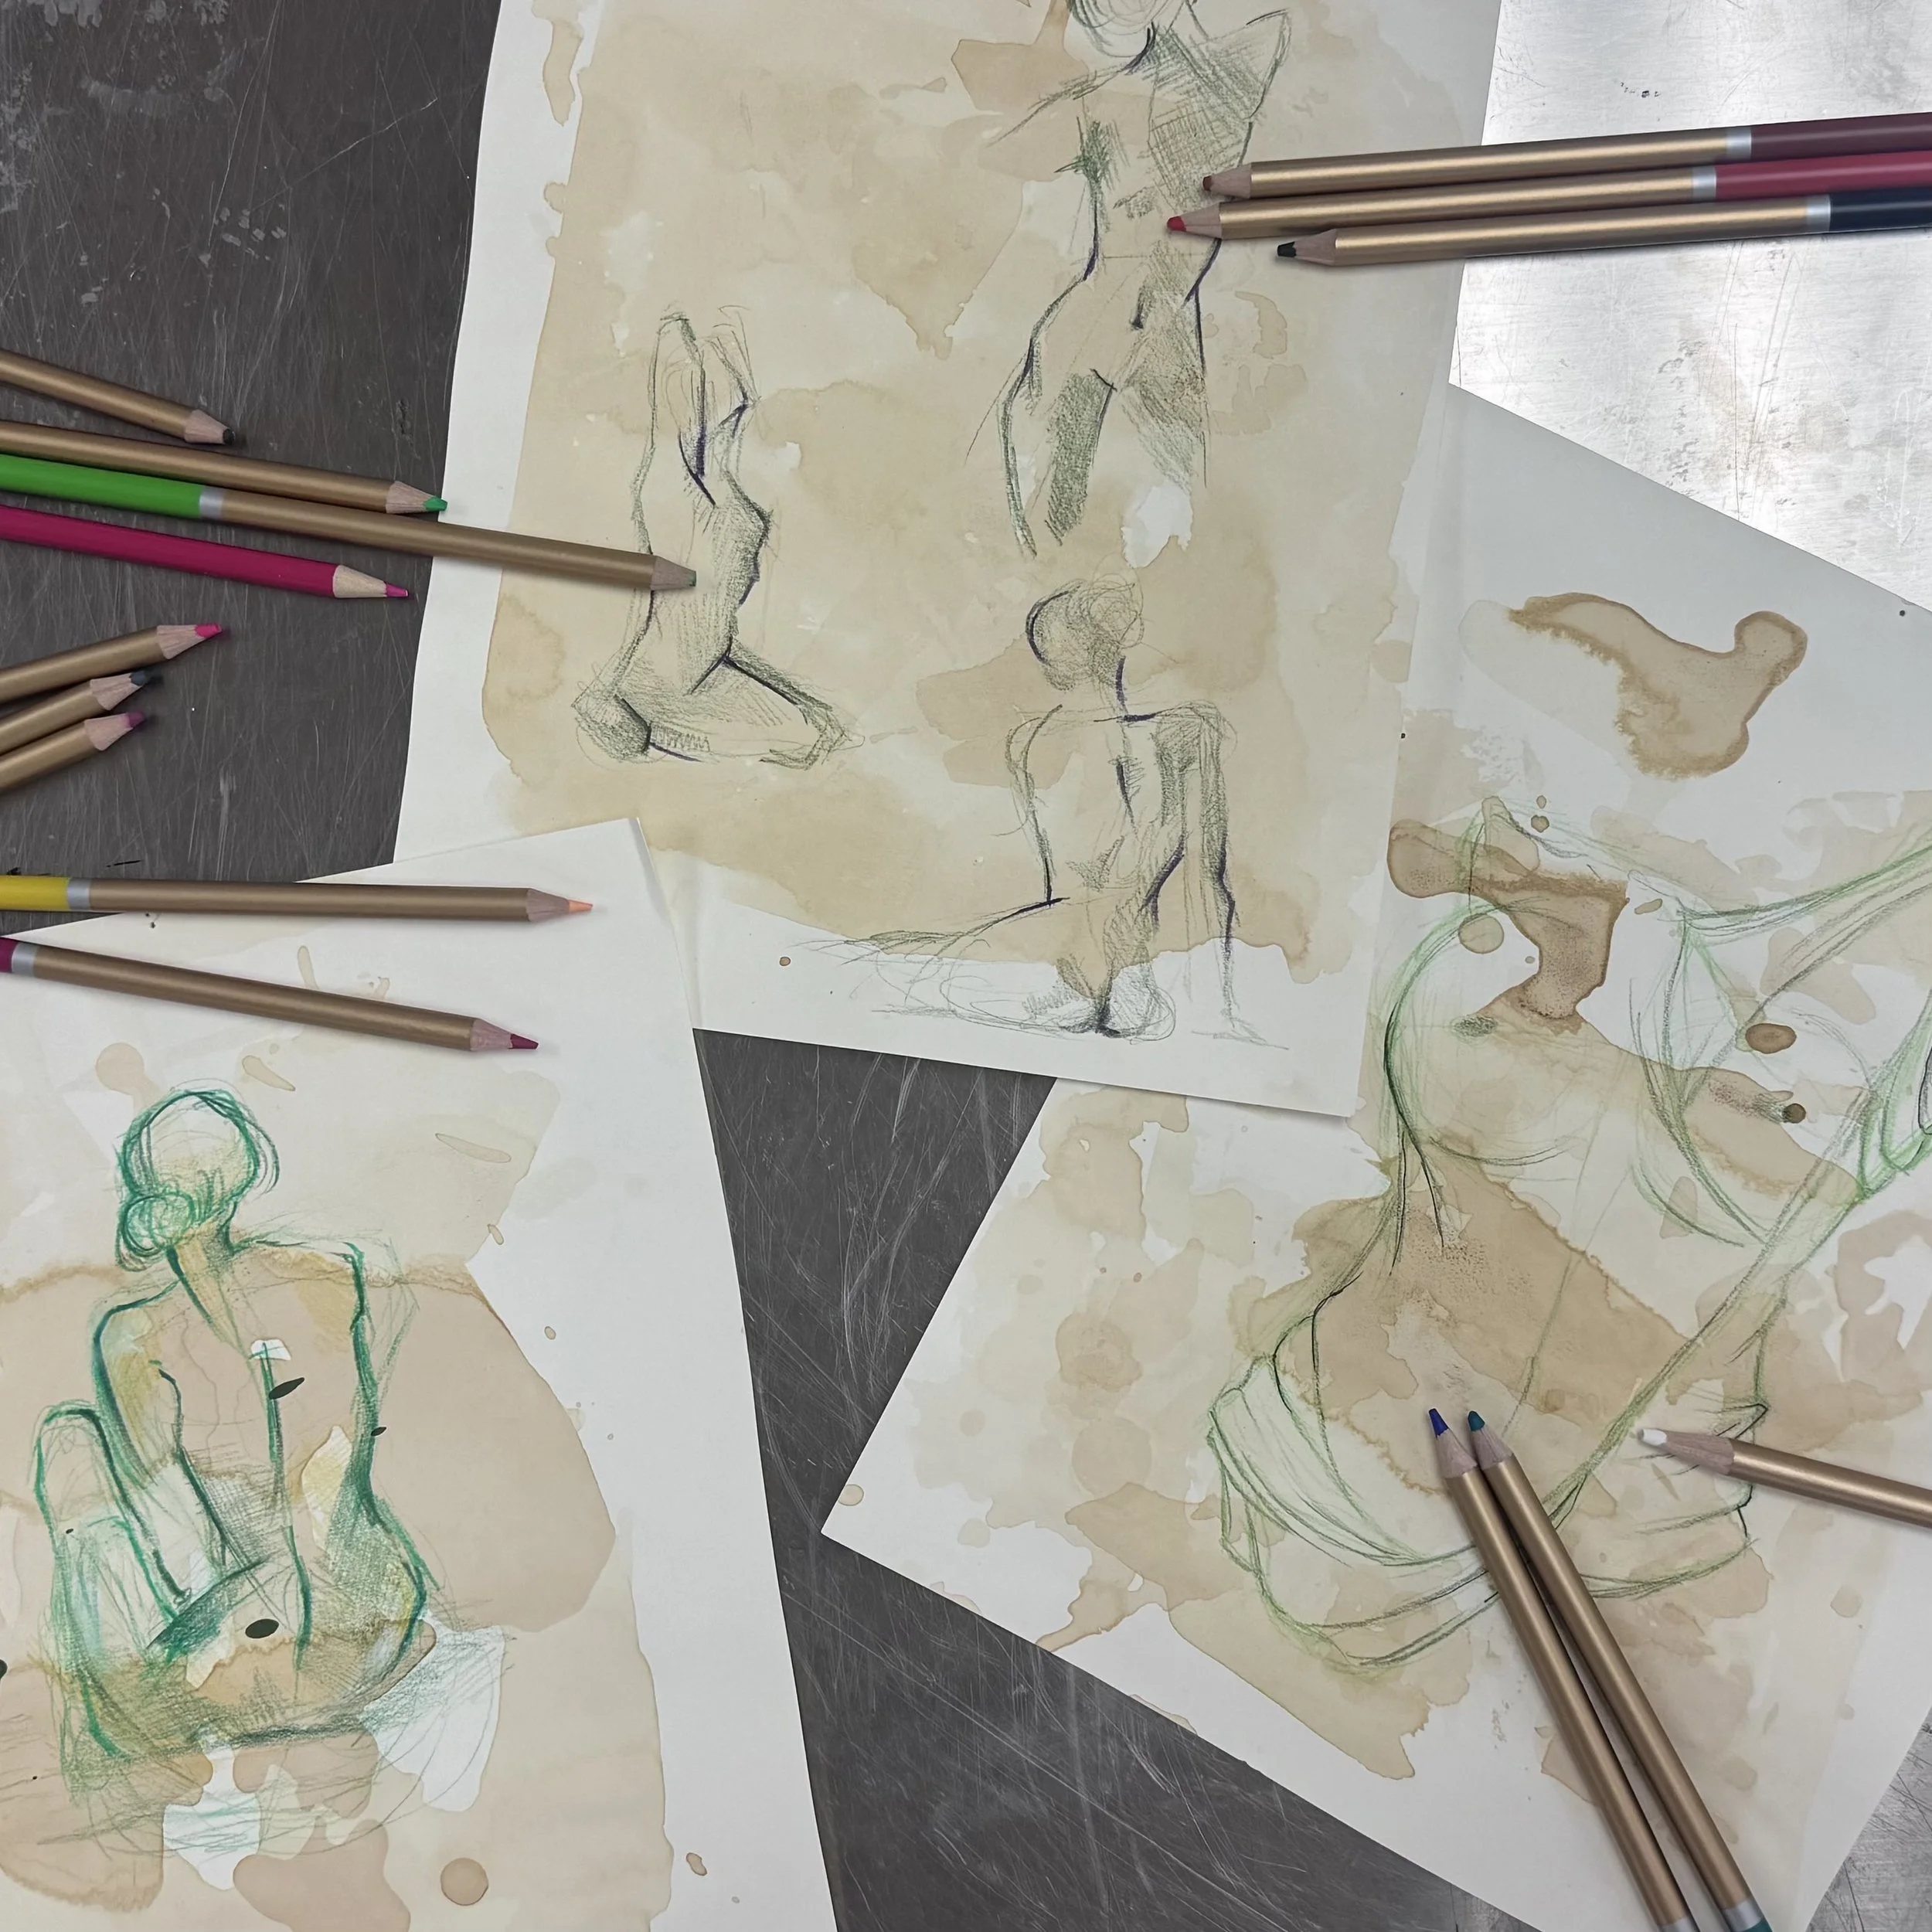
A hand-bound book of dyes and fun stuff I learned!
Lastly, but definitely not least, heat dyes! It is the fastest and most controlled method I practice. You put your dye bath in a covered pot over the stovetop or open flame, and let it simmer. Key word: SIMMER. The steaming and simmering process is what you want. You can get a rich color in as little as 30 minutes. Avoid a full boil, as it can damage delicate materials and dull down colors.
This process is extremely helpful for extracting carotenoids (warm oranges and yellows), anthocyanins (reds, pinks, and purples), and chlorophyll (greens).
Below is a list of great dye materials I’ve used, organized by the pigment categories they fall under!
Tannins (Browns, Neutrals)
Black Tea
Wood (I prefer aromatic cedar, it leans warmer)
Coffee
Pinecones
Dried Flowers
Carotenoids (Oranges, Yellows)
Onion Skins
Turmeric
Carrots
Marigold Petals
Chlorophyll (Greens)
Green Tea/Matcha Powder
Spinach (She fades, be careful)
Anthocyanins (Reds, Pinks, Purples)
Hibiscus tea
Rose petals
Red cabbage
Berries
Purple Bouquet Flowers
This is as brief a summary as I can give. Dyeing is a rewarding practice if you give it some time and make room for mistakes. Mess-ups happen to all of us, and it’s worth trying again.
If you have any questions, my contact form isn’t far from you. I’m happy to help!